



















Dynafit Muztagh Ata: how to choose size and set-up
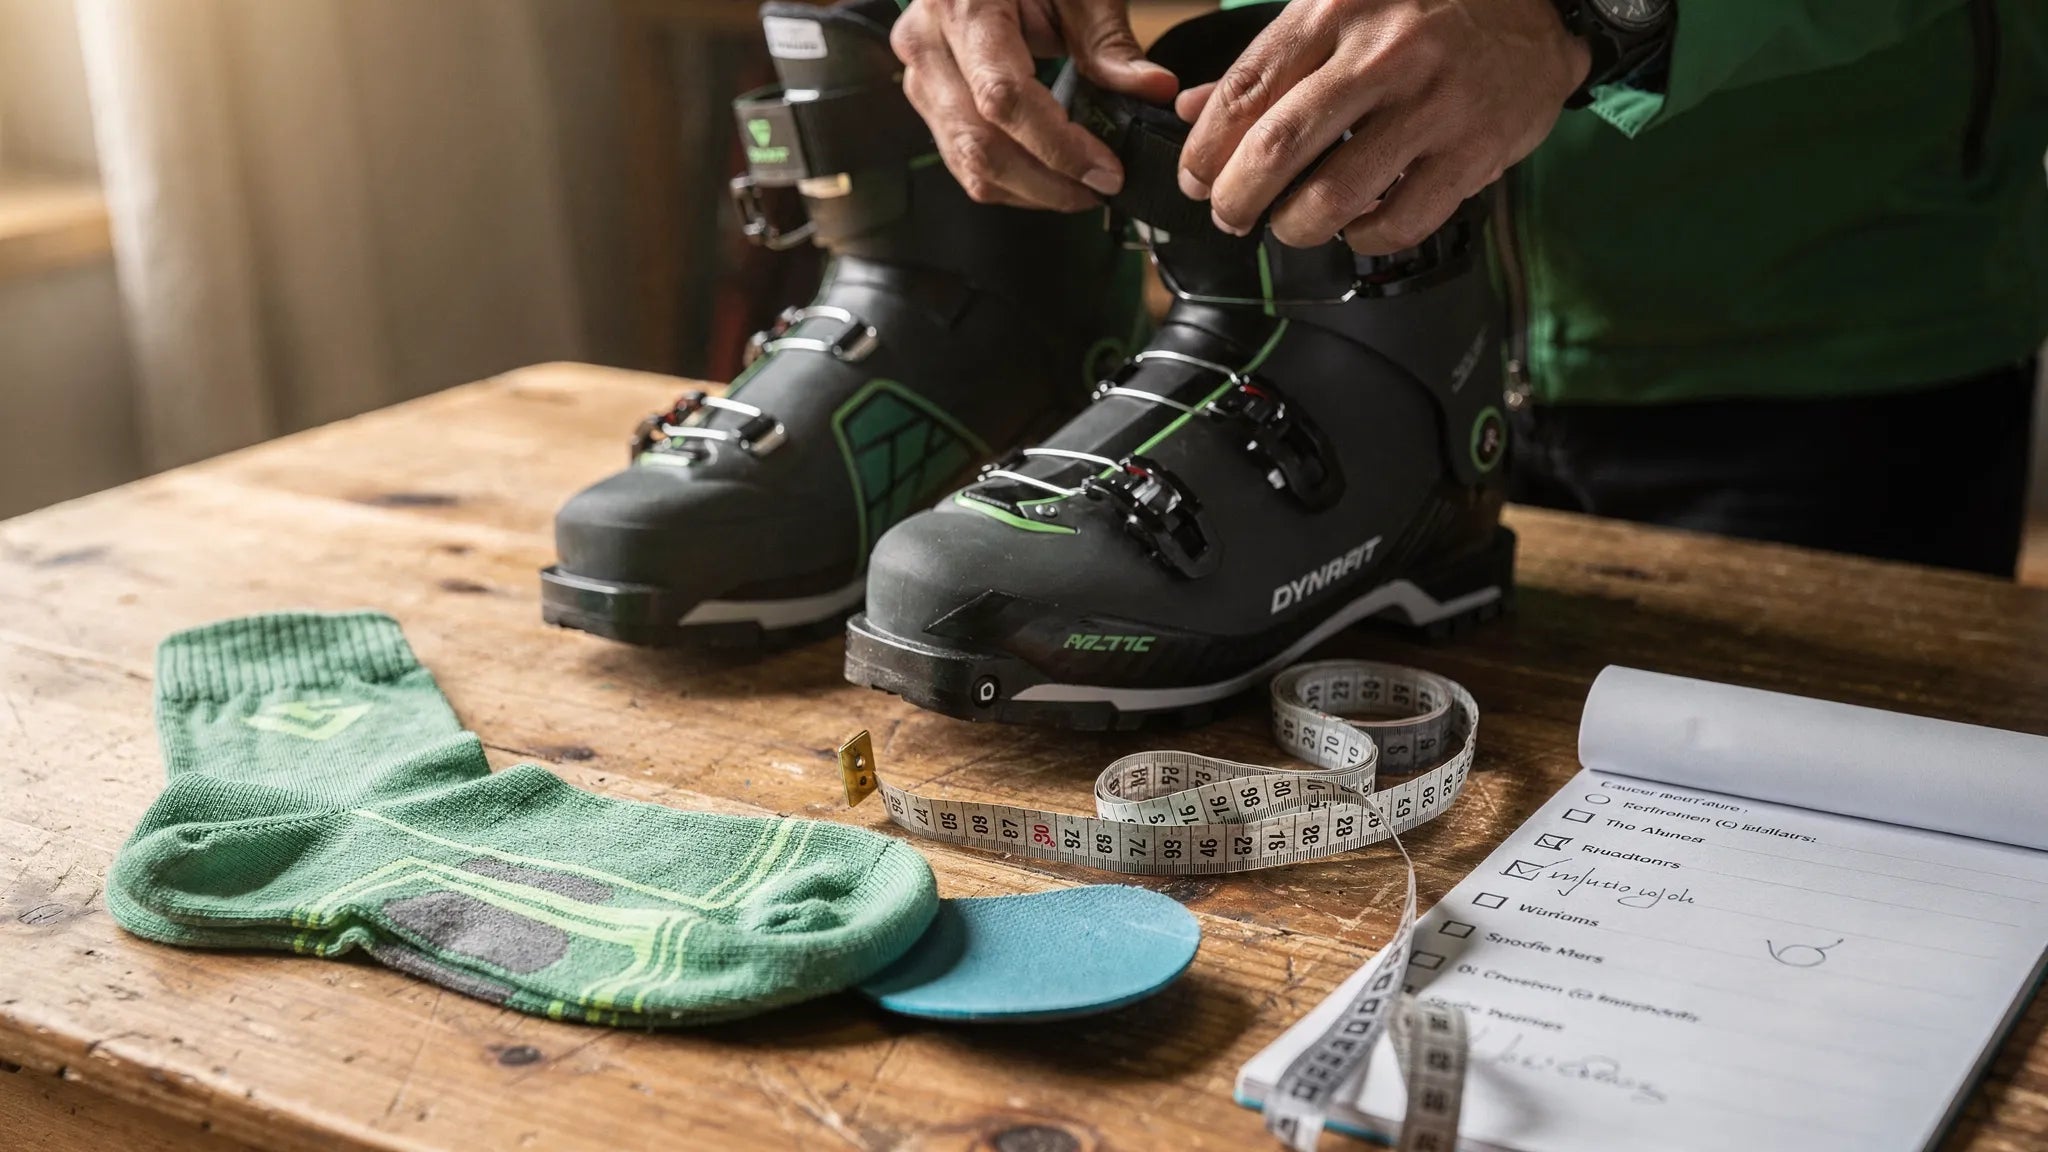
Buy (or return to service) a boot asDynafit Muztagh Atawithout wrong size is more difficult than it seems: the measure “right” is not only a number, but a balance between precision, comfort, internal volume and set-up (hot, insole, thermoforming, adjustments). This guide is designed for those who make ski touring, ski mountaineering and long trips and wants a clear procedure to choose the size and set the boot consistently, even purchasing online.
Summary (in 90 seconds)
- Start fromWorldpoint(cm) and not from EU size.
- Make ashell fit: it is the most reliable test to avoid half “belly” measures.
- Decide your goal first:precision accuracy(descent) ortolerance(long days, cold, stops).
- Set the set-up in the right order:insole, stocking, volume, then closures.
- If you are between two sizes, choose according tofoot volumeand to what “carichi” the boot (zain, difference in altitude, temperatures).
1) Before size: define the scenario of use
“Dynafit Muztagh Ata” is often sought by those who want an essential touring boot, with precise and efficient fit. But the same size can work or become a problem depending on your actual use.
Clear it with three questions.
How much are you going up and down?If your priority is to grind height difference, you will tend to prefer less pressure on avampiede and neck. If your priority is to drive downhill skiing well, accept a more “harvest” fit.
How cold and how many stops?In spring or fast trips you can use thinner stockings and keep the size more accurate. In full winter, with stops and wind, it serves margin for circulation.
What foot do you have?Two feet with same length can require different sizes due to plant, neck, heel and malleoli.
| Priority | Curtain size | What to control now |
|---|---|---|
| Downhill accuracy | More “close” | Not compressed fingers, heel |
| Comfort for long trips | More tolerant | Avampiede space, pressure on the neck |
| Cold and supportive | Tolerant, volume management | Circulating, compatible fit |
2) Size Dynafit Muztagh Ata: practical method (Mondopoint + shell fit)
The most useful measure for ski boots is theWorldpoint, standardized byISO 9407(measure in centimeters of foot length) and commonly used in the snow world. A quick reading is onWorldpoint.
Step A: measure the foot (well)
Do it at the end of the day, with foot “load”. You need a sheet, a pencil and a meter.
- Place the heel on the wall.
- Stand up, distributed weight.
- Mark the toe tip (or longer finger).
- Measure in cm.
- Repeat for both feet and considerthe longest.
Practical note: the length is only half history. If you are between two measures, thewidth and neckoften decide more than length.

Step B: Do the “shell fit” (the test that reduces errors)
The shell fit does not require special tools.
- Take off the inner shoe.
- Put your foot in the shell, with your fingers touching the tip.
- Fold the knee slightly.
- Check the space behind the heel (with fingers or a meter).
Typical indications from bootfitter (orientative):
- Fit performance:about 10-15 mmbehind the heel.
- Fit more comfort:about 15-20 mm.
If you are far beyond, risk “note” downhill and bladders. If you are below, you risk finger pain, especially in cold and long descents.
Micro decision tree (if you are between two sizes)
Use it as a quick rule.
- Low volume feet, tight heel, you want precision: tendonly cut closer, then volume works with insole and adjustments.
- High volume feet (high neck, full plant), feet inflating, long trips: tendingly cut more tolerant, then check stability with insole and closures.
- Sensitive fingers or nail problems: avoid tip compressions, prefer margin and volume management on the neck.
3) Fit and adjustments: correct set-up order
Many problems attributed to the “wrong cut” are actually set-up problems done on the contrary.
Recommended order:
- Solo(foot stability)
- Footwear(often consistent with scenario)
- Volume management(language, thickness, possible thermoforming if required)
- Closures(progressive extension)
If you immediately tighten strong to “stop” your foot, you often create two side effects: worse circulation and push the forefoot forward.
Quick diagnosis: symptom, probable cause, correction
| Symptom on a trip | The probable cause | What to try |
|---|---|---|
| Tallone up | Volume heel, non-progressive closure, absent insole | More stable insole, grade closures, volume management |
| fingers touching downhill | Short cut or foot sliding forward | Improved heel locking, tension rivets on the neck |
| Cold tingling/foot | Compression on neck or avampiede | Train critical areas, fit consistent, set-up less “straight” |
| Pain on malleoli | Localized pressure points | Regulations, local protections, evaluation in store |
4) Complete set-up: what must be compatible (before leaving)
When we talk about set-up for Dynafit Muztagh Ata, it is not just “like stocking”. It's also how the boot fits into your system.
Compatibility with attacks
Before mounting or using a boot, always check:
- Standard sole: different attacks require specific standards.
- Interfaces and wear: a worn out sole changes height and attachment.
- Regulations: the correct position reduces pre-release or hooking difficulties.
If you are not sure, you should check the complete set-up (scarpone, attack, ski) in a lab.
Ramponi: do not take for granted
For use with ramps count geometries and hook points, not only the size of the foot. Before buying:
- Check that the boot has acompatible configurationwith the ramp system.
- Try the adjustment: the ramp must be stable and not “play”.
Socks: a technical choice, not aesthetic
Too thick stocking can make you “salt” volume and change everything: heel position, finger space, pressure on the neck.
Simple rule:
- Exit fast, spring, high rhythm: it fits thinner and more precise.
- Cold, stops, long trips: it fits more protective, but only if the size allows it.
To see consistent options with ski and touring, you can start from our selectionDynafit: Dynafit collection.


5) Our recommended options (cut + set-up) based on use
They are not “right products for everyone”. These are logical configurations, designed to reduce errors.
Option 1: Fit for those who want downhill control
Best for:trips with steep stretches and descents where you want to hear the ski.
Key features (set-up):
- Closer size confirmed by shell fit
- Stable insole to reduce unnecessary movements
- Consistent sock (often contained)
What to match:essential and light technical layers to manage sweat and wind. If you are building the kit, look also our section dedicated to ski mountaineering:ski mountaineering collection.


Option 2: Comfort “all day” for height gain and feet inflating
Best for:long trips, more continuous hours, sensitive feet.
Key features (set-up):
- Tolerant size but controlled by heel locking
- Volume management on the neck (without strangling)
- Average heat, not excessive
What to match:a jacket that manages well wind and changes of rhythm. If you are interested in the Dynafit technical side (even for other leaders)Dynafit collection.
Option 3: Cold and fixed assets (circulation first of all)
Best for:full winter, trips with breaks, ventilated environments.
Key features (set-up):
- Margin not to compress the ampiede
- Continuously managed closures
- Calm more protective only if it does not create pressure
What to match:protection accessories and a layering that does not force you to “stringe the boot to warm you up”. To complete without excess, you can explore technical accessories:accessories collection.


Option 4: Alpine-oriented set-up (ramps and traction)
Best for:excursions with stretches, hard snow, passages where the precision of support counts.
Key features (set-up):
- Verified ramp compatibility before buying
- Foot stability (sole) to avoid twists
- Localized pressures resolved before long trip
What to match:gloves and protections adapted to rhythm and stops (without overinvesting). If you need a method guide, you can also read our guide to choosing gloves:Ski gloves: complete guide.
Option 5: “Reset” for those who depart after years (or buy used)
Best for:Dynafit Muztagh Ata purchased second hand, or steady boots from seasons.
Key features (set-up):
- Wear control (sole, closures, shoes)
- Check current shell fit (foot changes over time)
- First test at home: 20 minutes on foot, then stairs, then push
What to match:if you also need to fix the equipment or want a safety check, consider a pass in the lab. You can start here in Biella area:Sport service: all services in store.

Fit and sizes: mini check before confirming your order
If you are buying online, do this final control (it reduces many “evitable” returns).
- Have you measured both feet and considered the longest?
- Have you decided the thickness stock that you will really use?
- Have you done or simulated the shell fit (if you're replacing a similar model)?
- Do you understand your goal: precision or comfort?
- Have you checked compatibility with attacks and, if necessary, ramps?
If you have a doubt “volume” (plant, neck, heel), writing to customer care with your measurements is often more useful than changing random size.
Recommended action
If you want to set a set-up consistent with Dynafit Muztagh Ata, start from the dedicated selection and compare the options calmly:discover the Dynafit collection. If you are in Biella area and want practical control over equipment and adjustments, find an overview of the services here:Sport service.
Ski Sises on Google
Choose Ski Sises as a preferred source: you'll see our guides and news more often in Top stories on Google.


%20a%20boot%20asDynafit%20Muztagh%20Atawithout%20wrong%20size%20is%20more%20difficult%20than%20it%20seems:%20the%20measure%20%E2%80%9Cright%E2%80%9D%20is%20not%20only%20a%20number,%20but%20a%20balance%20between%20precision,%20comfort,%20intern...)