





















From Biella to Oropa on foot via Gorgomoro
To prepare for Biella Oropa on foot via Gorgomoro, start from the real use of the route and verifiable equipment.
Where the route starts
Open the starting-point pin in Google Maps: Chiesa di San Giuseppe, Biella
Route map
The line follows the GPX track published by the cited source. Use it for orientation, but always check signs, conditions and notices before setting off.

We’ll send you links to this route’s official GPX track and its starting points.
Notify me when my size arrives
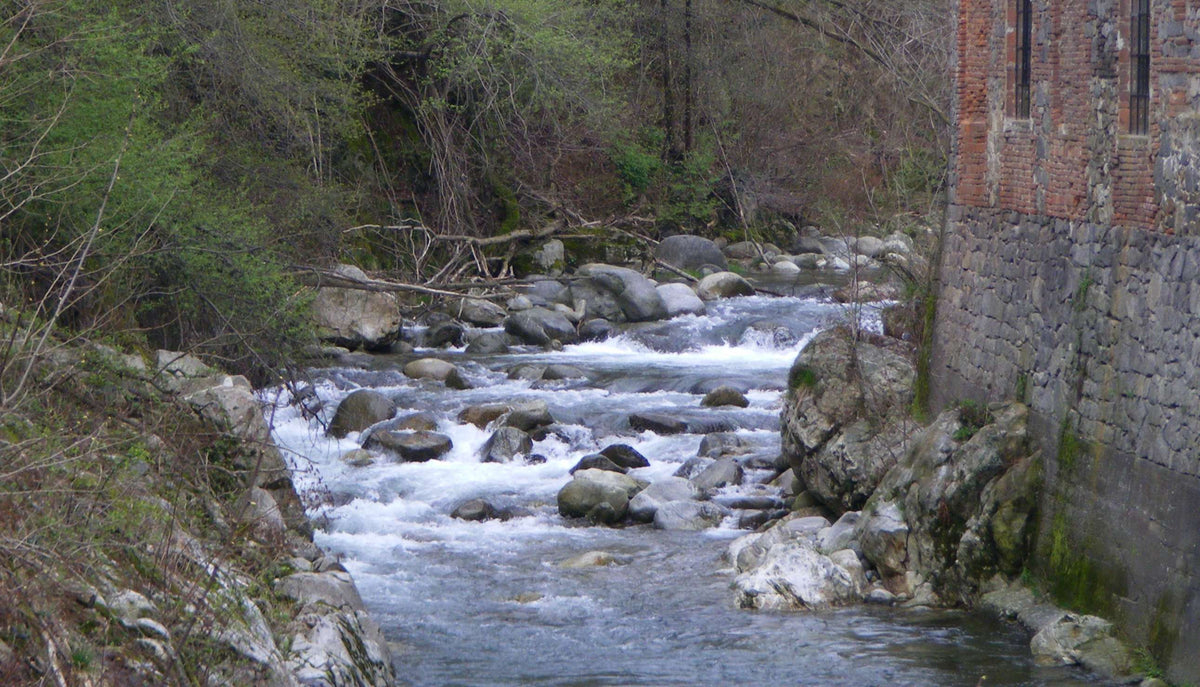
Views along the route


Biella Oropa on foot via Gorgomoro: Route, effort and preparation
It is a linear trek that connects Biella to the Santuario di Oropa. Official data indicate departure from the Chiesa di San Giuseppe in Biella and arrival at the Santuario di Oropa; the reported distance is 14 km with 689 m of positive elevation gain and the ascent alone is estimated at 3 hours 30 minutes. The descent can also be managed by public transport, according to the documented source.
Two ways to build the look
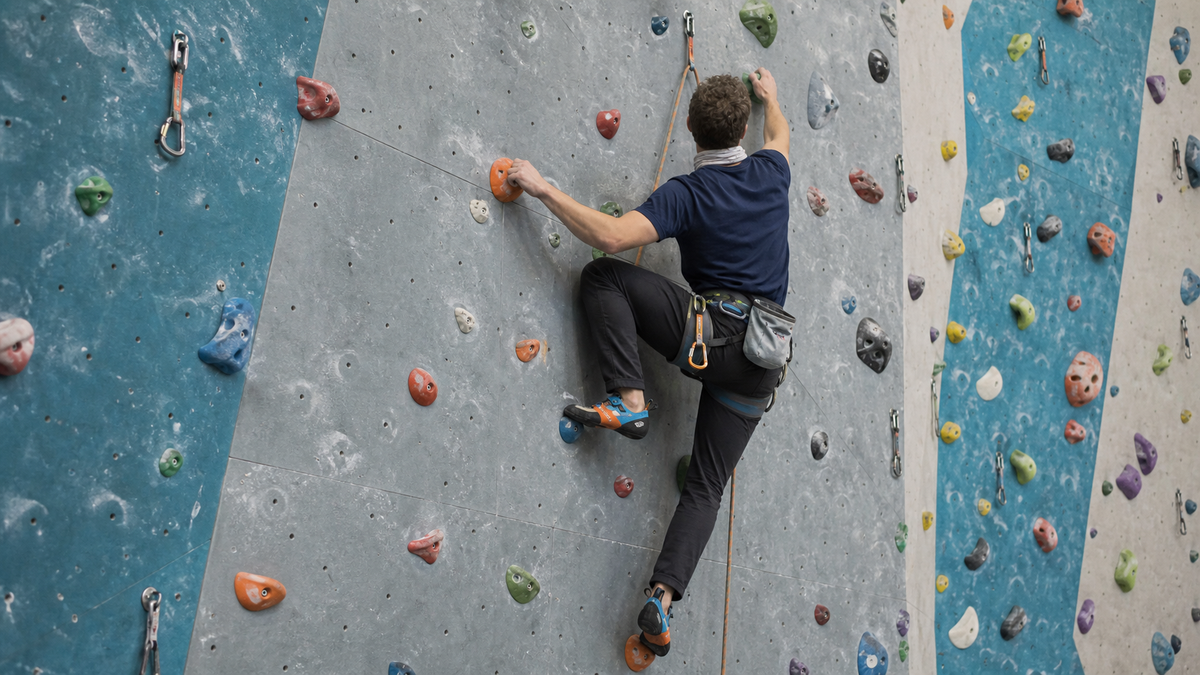
AI-generated outfit scenes grounded in the linked product photographs. The landscape is illustrative.

Products mentioned in this article


Products mentioned in this article


Before setting out check the weather, trail conditions and the official notices for the day; below you will find a list of practical checks to do on the morning of your outing.
The route in brief (verified facts)
Official start: Chiesa di San Giuseppe, Biella. Official finish: Santuario di Oropa. Distance: 14 km. Positive elevation gain: 689 m. Estimated duration for the ascent only: 3 h 30; the descent is noted as possible by public transport. The sheet indicates seasons of use: Winter, Spring, Late spring/summer and Autumn.
What to check before leaving
- Local weather and short-term forecasts for the elevation you'll reach;
- trail conditions (mud, ice, fallen trees or works) and the match between the track and the signage;
- timetables and stops of public transport for the descent, if you don’t want to return on foot;
- inform a contact person with an estimated return time and have an active GPS track;
- phone charge, offline map or saved GPS track, and sufficient water.
Clothing: season, duration and intensity
With 14 km and 689 m of ascent plan layers considering pace and stops. If you move at a brisk pace you will produce heat quickly; with long ramps and frequent breaks you need more insulation. The best choice is modular: a base that handles sweat and odors, a compressible insulating layer for breaks and a light shell against wind and rain.
Base layer (next to the skin)
Prefer materials that transfer moisture and limit odors: the T-shirt S/S Ocean Men's Blue (Rewoolution) is described as made from 100% Merino wool, with thermoregulating and odor-control properties. It is a valid choice for mid-seasons or for those who want to reduce changes during repeated outings.
Pants and freedom of movement
For the mileage and elevation you need breathable pants that allow stride and ascent without restriction. The Trail Pants Men's Black (Rewoolution) are reported as made from Merino wool and designed for thermoregulation and moisture management; this makes them useful if you prefer garments with odor control for multiple days. If weather or wind may be a factor, bring a light outer layer resistant to light rain and wind.
Core insulation
For breaks and low-intensity moments a sleeveless insulating layer that doesn't impede arm movement is convenient. The Inversion Primaloft Vest Men's Blue (La Sportiva) uses Primaloft filling and states the VapoVent™ technology for moisture management; it keeps the torso warm without adding volume to the arms, useful in mid-seasons.
Neck, head and accessories
A light neck warmer that can become a beanie is practical to quickly regulate heat. The Polar Cap Neck Warmer White (Montura) is described in thermal polyester double pile and convertible into a beanie: useful to protect neck and head from wind and cold during breaks and descent.
Outer shell
No specific shell is cited among the highlighted products here, so choose an outer jacket with good breathability and a durable water-repellent finish (DWR) if the weather may worsen. Favor a lightweight, compressible construction: it weighs less in the pack and gives quick protection in case of rain or wind.
Practical trade-offs
An overly technical set adds weight; garments that are too light risk not protecting against rapid weather changes. Aim for compressible and versatile pieces: a Merino layer as base, a Primaloft vest for the trunk and a light shell for external protection cover most scenarios indicated by the official sheet's seasons.
Essential equipment (quick)
Beyond the garments listed bring sufficient water, high-energy snacks, a map or offline GPS track, a charged phone with power bank, a basic first aid kit, a torch and a small extra layer. In the mountains a spare light layer for head and hands can make the difference if you stop for long.
How to dress at the start and during the ascent
Start slightly more covered than your immediate comfort: the first section will warm you up. Use openings (half zip, pit zips) to regulate temperature on the ascent. Before stops or at the top immediately add an insulating layer: heat loss happens quickly once effort stops.
Choosing garments: practical criteria in store or online
If you are torn between materials evaluate priorities: moisture management and anti-odor (Merino) versus faster drying and lower weight (synthetic). For repeated outings and light travel Merino reduces the need to change; for activities where getting wet is likely, a synthetic dries faster. For compressible insulation Primaloft is a balanced solution, while a double-pile neck warmer is simple to adjust and light in the pack.
Useful link
To compare garments consistent with what is described, you can discover our trekking selection and evaluate fabrics and fit before purchase.
Safety reminder
This text does not replace official bulletins or instructions from local managers. For exposed activities or particular winter conditions consult official sources of the day. The suggested clothing improves comfort and thermal management, but does not guarantee safety in adverse conditions.
Good preparation: before going out always check updated route conditions and official communications for the day.
Before deciding what to bring for Biella Oropa on foot via Gorgomoro, separate the essentials from items carried by habit. Lay out garments, footwear and accessories together, then verify that each piece has a concrete function for trekking in the Biella and Oropa area. Try the layers in the same order you plan to use them and check they do not limit movement. Shortly before departure, recheck updated forecasts, official communications on the route and available services. If two items serve the same purpose, choose based on fit and expected conditions instead of bringing both.
FAQ
How long is the ascent only from Biella to Oropa via Gorgomoro?
The ascent alone is estimated at 3 hours 30 minutes according to the official sheet; actual times vary with pace, stops and trail conditions.
What is the distance and elevation gain of the itinerary?
The reported distance is 14 km with a positive elevation gain of 689 m (fact: f3, f5).
Where are the indicated start and end points located?
The official start is the Chiesa di San Giuseppe in Biella; the finish is the Santuario di Oropa (fact: f1, f2).
Can I organize the descent with public transport?
The official description notes that the descent is possible by public transport; check timetables and stops updated on the day of the outing.
Products mentioned in this article

Ski Sises on Google
Choose Ski Sises as a preferred source: you'll see our guides and news more often in Top stories on Google.